Airbnb Self Check In Instructions
A practical guide to Airbnb self check in instructions for hosts with 1 to 10 units. Includes lockbox, smart lock and keypad templates, timing rules and a safer code release workflow.
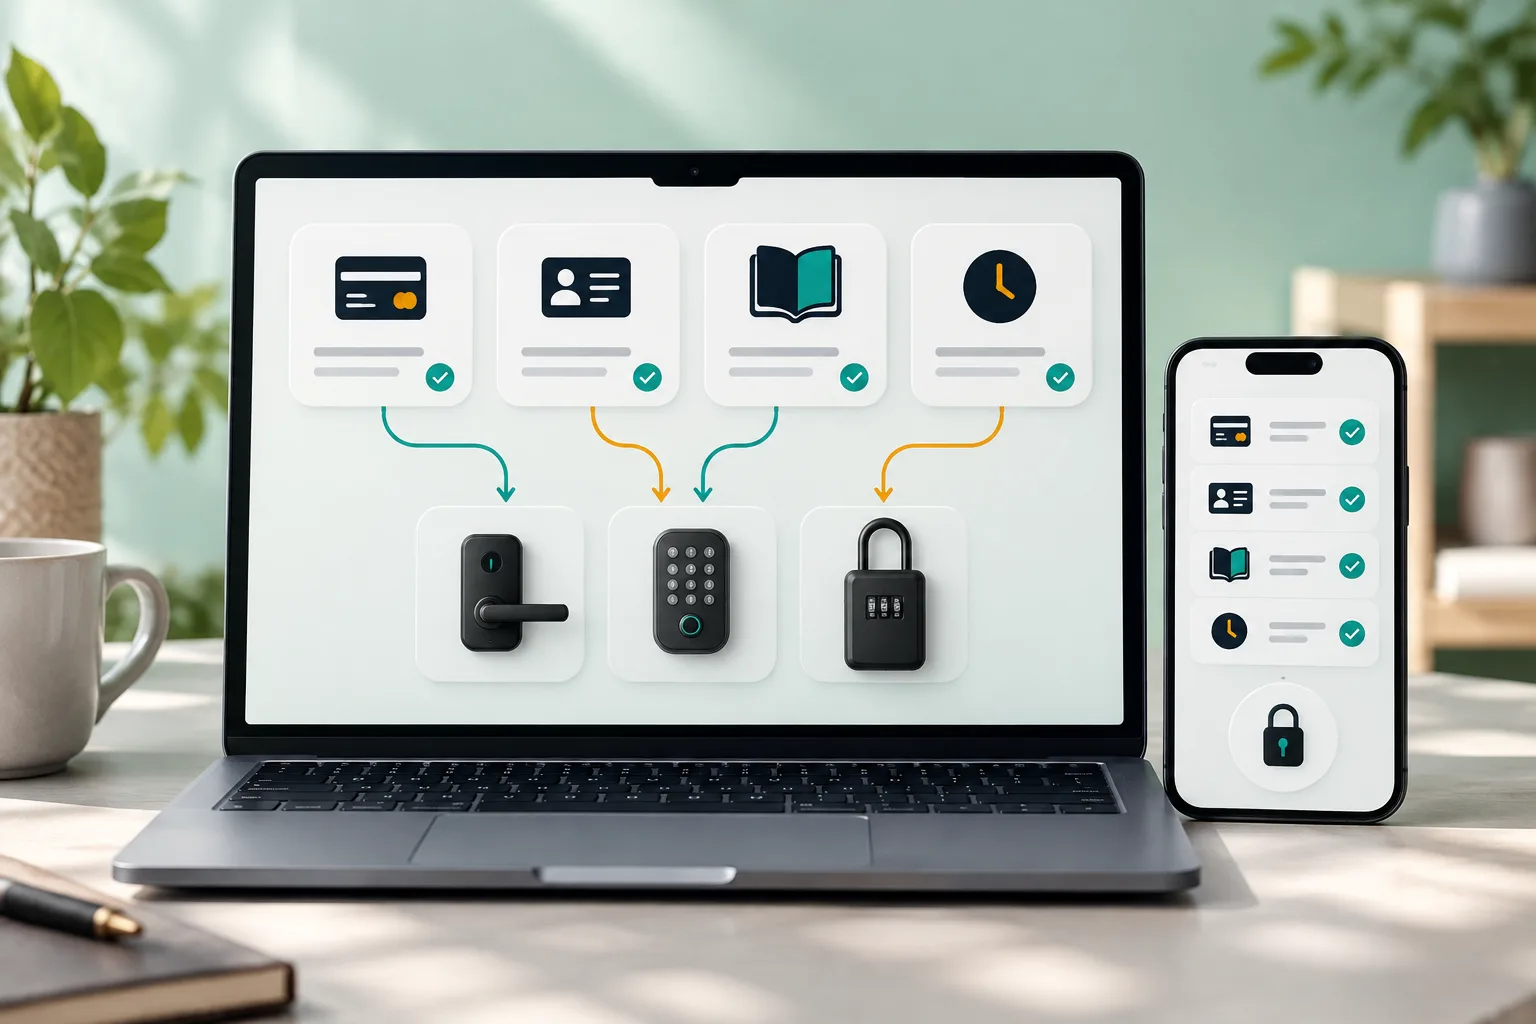
The short version
- Self check in means the guest can enter without meeting the host, but the live access code should still be controlled carefully.
- Use different instructions for a smart lock, keypad and lockbox because each one fails in a different way.
- Do not reveal the door code until payment, identity checks and house rules steps are complete where those steps apply.
- Send general arrival guidance early, then reveal the live code inside the arrival window.
- Test every code after cleaning and keep a backup entry route for late arrivals and lock failures.
Airbnb self check in instructions should do two jobs: help the guest get in without calling you, and stop the wrong person getting a live access code too early. For a host with 1 to 10 units, the safest setup is a simple repeatable process: clear instructions, photos, unique codes where possible, and code release only when the booking is ready.
Airbnb says hosts can choose methods such as smart lock, keypad, lockbox, building staff, in person greeting or other, and guests do not see the detailed instructions until 48 hours before check in in the Airbnb flow, according to the Airbnb guide to adding check in instructions. (airbnb.com)
What Airbnb self check in means for hosts and guests
The Airbnb self check in meaning is simple: the guest can enter the property without the host or a co host physically meeting them at the door. That usually means a smart lock, keypad, lockbox or building desk.
For guests, the benefit is flexibility. Late train, delayed flight or a tired family arriving after dark can go straight in. For hosts, the benefit is fewer arrival calls, fewer missed handovers and less need to wait around for guests who said they would arrive at 6 pm and arrive at 9 pm.
The risk is also simple. A door code is not just a message, it is access to the property. If you send the same code to every guest, send it before payment is safe, or leave it active after checkout, you are relying on goodwill rather than an operating system.
Airbnb tells guests that, where there is self check in, the door or lockbox code is sent by email and message 48 hours before arrival, and that check in information can include access details, parking, wifi, house rules and host contact details in the Trips page, according to Airbnb help for guests on how to check in to a home reservation. (airbnb.com)
The access code is the most sensitive part of the arrival guide, so treat it like a key, not like a welcome note.
The simple self check in process for a 1 to 10 unit host
You do not need a full property management system to run a safe airbnb self check in process. You need a list, a calendar habit and one place where the final access code is controlled.
Do these once per listing:
- Choose the real check in method: smart lock, keypad, lockbox, building staff or other.
- Add the method in Airbnb under the listing Arrival guide.
- Write the permanent parts of the guide: address, building entrance, floor, parking, photos, emergency contact and house rules reminders.
- Decide the code rule: unique code per stay if possible, or a changed static code after each stay.
- Create a backup entry route: backup code, backup key, co host callout or cleaner held key.
Do these per booking:
- Check payment status where you control payment, and guest verification where appropriate.
- Confirm the guest has accepted house rules or any rental agreement step you require.
- Generate or set the code.
- Send the arrival guide or secure check in link.
- Reveal the live code only inside your chosen arrival window.
- Monitor arrival if your lock supports it.
- Expire or change the code after checkout.
- Test the next code after cleaning.
Mini checklist to copy:
| Task | Once per listing | Per booking |
|---|---|---|
| Add Airbnb check in method | Yes | No |
| Add photos of door, lock and building | Yes | Update if changed |
| Set guest code | No | Yes |
| Confirm payment and ID steps | No | Yes |
| Release live code | No | Yes |
| Expire or rotate code | No | Yes |
| Test backup entry | Monthly | After any change |
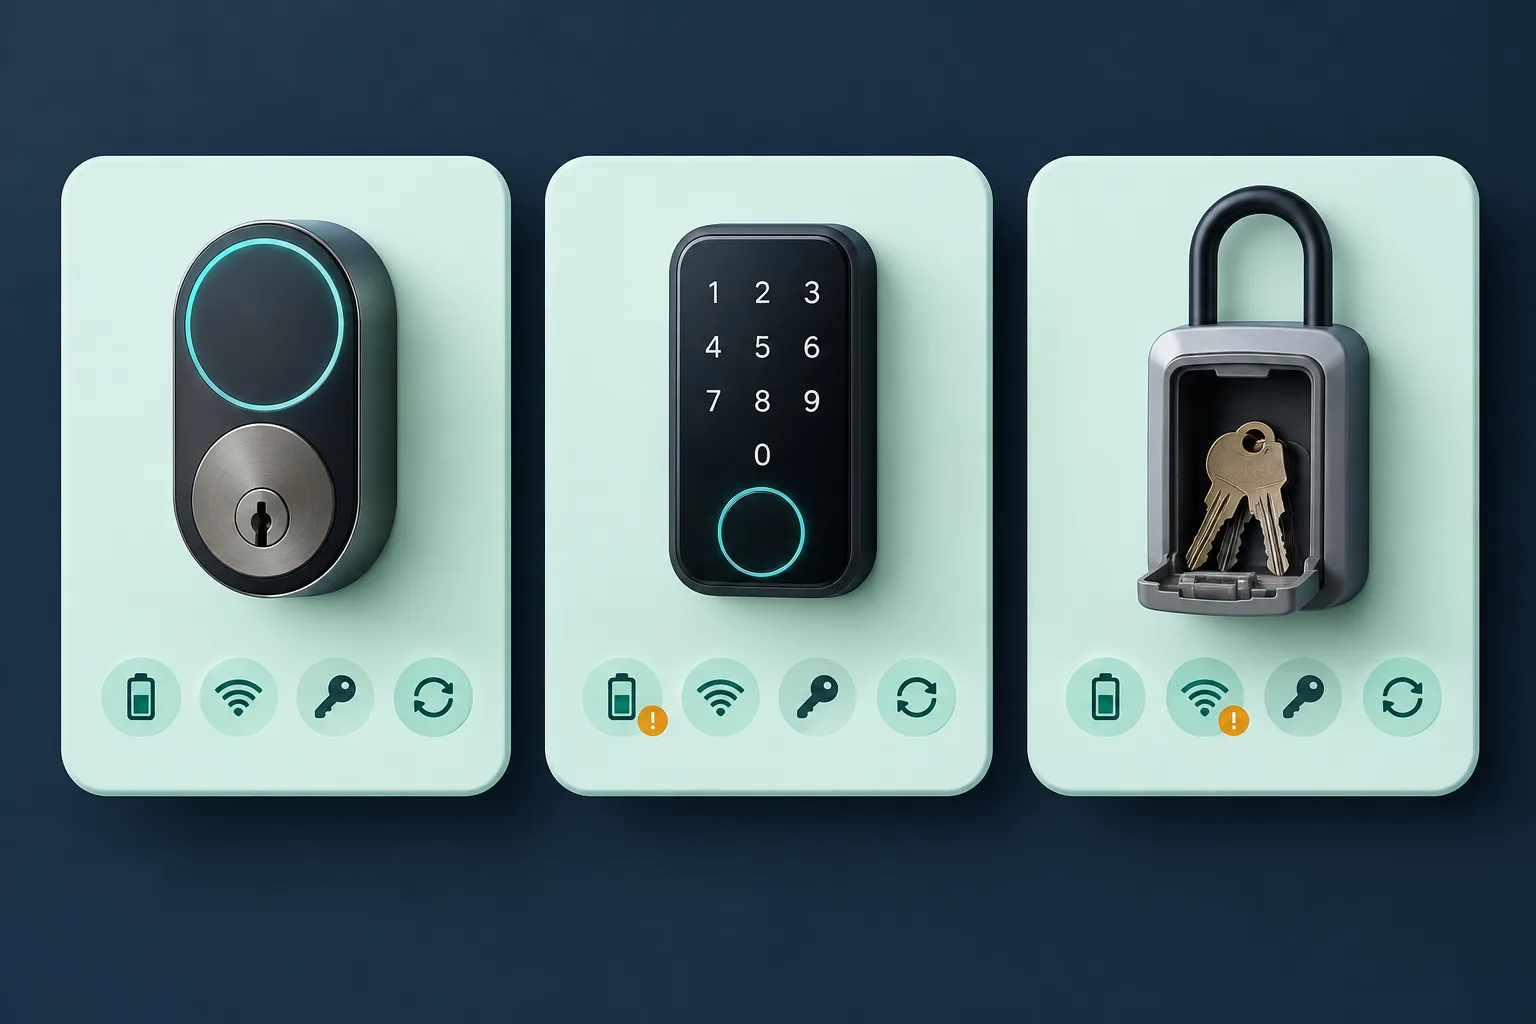
Smart lock vs keypad vs lockbox comparison table
A smart lock, keypad and lockbox can all support self check in, but they are not the same operationally. Airbnb defines a smart lock as a code or app used to open a wifi connected lock, a keypad as an electronic lock opened by tapping in a code, and a lockbox as a small safe that holds a key, in its check in method options. (airbnb.com)
| Method | How guest enters | Best for | Host workload | Main risk | Backup needed | Example instruction line |
|---|---|---|---|---|---|---|
| Smart lock | Enters a code on a connected lock | Remote code control and timed unique codes | Low once fitted | Battery, wifi, app or compatibility issue | Backup key or backup entry code | Enter {code}, press the lock button, wait for the green light |
| Keypad | Enters a code on an electronic lock | Simple code entry without app dependency | Medium if codes are changed manually | Static code reuse and latch pressure | Backup key or co host | Wake the keypad, enter {code}, press the tick button |
| Lockbox | Opens box, removes physical key | Lowest cost and backup access | Medium because code and key return need checking | Key copy, missing key or unchanged code | Spare key stored separately | Open the black box on the left rail using {code} |
If budget allows, use unique timed codes as the primary method and keep a lockbox as backup. Airbnb says connected smart locks can automatically create unique codes active only during a guest stay, and that codes activate at check in time and expire 30 minutes after checkout, in its guide to connecting a smart lock to Airbnb. (airbnb.com)
Why you should not release the door code before payment and ID are complete
This is the part most templates miss. The guest needs confidence before arrival, but they do not need the live access code until the booking is safe and the arrival window is close.
Early code release creates avoidable problems:
- A card fails for an extra charge or remaining balance on a direct booking.
- The named guest has not completed the identity step you require.
- A third party arrives with the code before the booker.
- A cancelled booking still has entry details.
- A party risk guest receives the code before house rules are accepted.
- A past guest can try the same code after checkout.
Separate safe information from sensitive information. Safe information includes general directions, parking location, building name, floor and what the guest must complete before arrival. Sensitive information includes the live door code, backup key location and lockbox code.
Airbnb says every host, new co host and booking guest must complete identity verification to use the platform, and explains that identity checks are used to help reduce fraudulent behaviour in its identity verification help page. (airbnb.com) For stays outside Airbnb, or for extra host requirements that are permitted by your channel and local rules, keep the same principle: do not release the final access code until the required checks are done.
This is where YourFrontDesk fits neatly. Arrivals use one link per stay for payment, ID and the guidebook, and the door code is released at the chosen hour only after payment and ID.
If you want the longer operating model, see how check in links work in the arrival workflow guide, or read how to verify Airbnb guests before releasing a door code.
What every Airbnb self check in instruction message must include
A good message is short, exact and ordered in the same way the guest will move through the property.
Include:
- Full address and property name if it has one.
- Unit number, floor and entrance name.
- Check in time and whether the code works before that time.
- Parking, unloading and permit details.
- Building entry, gate, lift, stair and intercom steps.
- Door, keypad or lockbox instructions in numbered steps.
- Wifi details, but after entry details.
- Emergency contact and backup entry process.
- Checkout key return or code expiry details.
Photo checklist:
- Street view or exterior from the direction of arrival.
- Correct gate or building entrance.
- Parking bay or garage entrance.
- Lockbox or keypad close up.
- Correct flat door or house door.
- Where to return keys at checkout.
Keep Airbnb instructions concise. Put the operational detail in the right order and avoid sending three separate messages that contradict each other.
Lockbox self check in instructions template
Use a lockbox when you need a low cost primary entry method or a reliable backup key. The tradeoff is physical key risk. Change the lockbox code between guests where possible, do not put the property name or address on the key tag, and keep a spare key somewhere separate from the main box.
Hi {first name}, your check in details for {property name} are below.

Address: {full address}
Check in time: {check in time}. The key will not be available before this time unless we confirm early check in.

1. Go to the front door at {door description}.
2. The black lockbox is on {exact location}.
3. Set the dials to {lockbox code}.
4. Pull down the latch and remove the key.
5. Close the box and scramble the dials.
6. Use the key for {door or doors}.
7. At checkout, return the key to the same lockbox and scramble the dials.

If the box does not open, reset the dials to 0000, enter {lockbox code} again, pull the latch firmly, then call {emergency number} after two tries.
Worked example: for a suburban house, tell the guest to stand facing the front door, find the black lockbox on the left hand rail, enter the code, remove the front door key, scramble the dials and return the key at checkout. Add a photo of the rail so they do not open a neighbour’s box.
Smart lock self check in instructions template
A smart lock is best when you want unique codes, cleaner codes and remote control. Airbnb says hosts in the United States and Canada can connect compatible Schlage, Yale and August locks, and that the lock must connect to wifi and have a keypad or touchscreen, in the Airbnb smart lock connection guide. (airbnb.com) Airbnb also lists compatible Schlage, August and Yale models in its connected smart lock help page. (airbnb.com)
Hi {first name}, your access code for {property name} is {door code}.

Address: {full address}
Your code works from {code start time} on {arrival date} until {code end time} on {checkout date}.

1. Go to {exact door description}.
2. Wake the keypad by {wake action}.
3. Enter {door code}.
4. Press {confirm button}.
5. Wait for the green light or unlock sound.
6. Turn the handle and enter.
7. When leaving, close the door firmly and press {lock button}.

If the code does not work, check you are at {correct door clue}, try once more slowly, then message us with a photo of the keypad.
Worked example: code 4821 is active from 4:00 pm on arrival day to 10:30 am on checkout day. The guest presses the keypad, enters 4821, presses the lock button, waits for the green light and turns the handle.
Keep a backup. Airbnb says connected smart locks can have backup codes for cases where a code cannot be generated while the lock is offline, and its backup entry article says backup entry can cover problems such as dead batteries or a broken keypad, according to Airbnb help on connected smart lock issues and Airbnb help on backup entry methods. (airbnb.com)
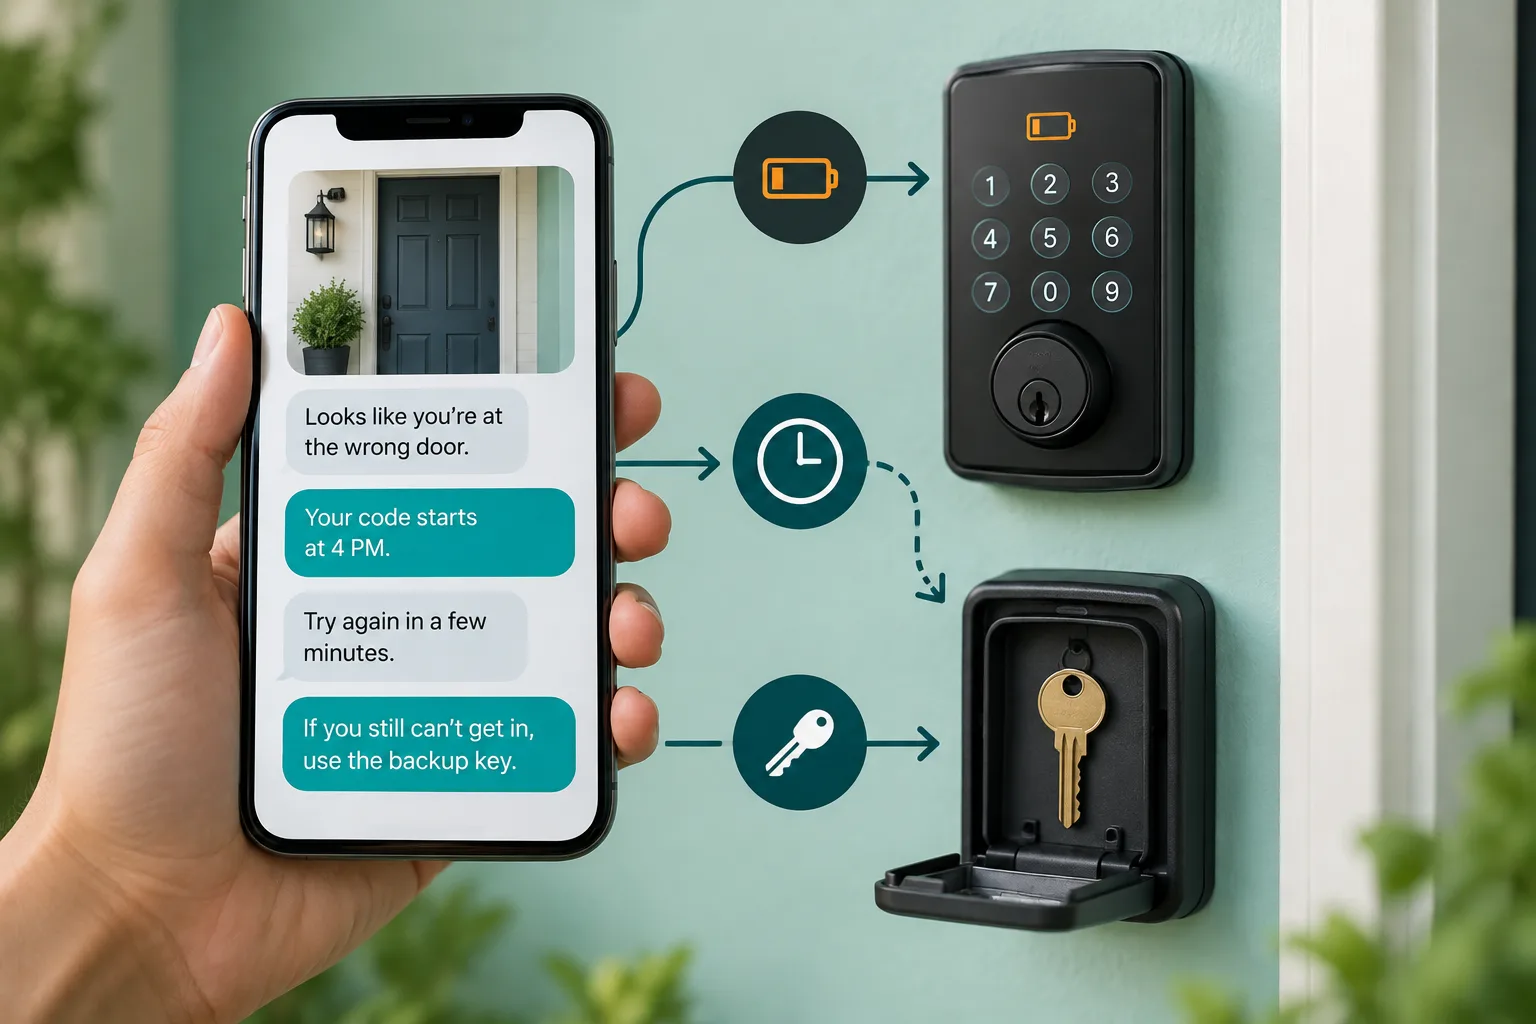
Keypad self check in instructions template
A keypad is not always a smart lock. In host terms, a keypad may be a code only electronic lock that does not create remote timed codes. The guest experience can be excellent, but the host must rotate codes manually or on a fixed schedule.
Hi {first name}, your keypad code for {property name} is {keypad code}.

Address: {full address}
Check in time: {check in time}. The code may not work before this time.

1. Stand at {correct door description}.
2. Press {wake button} to wake the keypad.
3. Enter {keypad code}.
4. Press {tick or lock button}.
5. Wait for the green light.
6. Pull the door gently toward you if the latch feels tight, then turn the handle.

If the screen is hard to read in sunlight, shade it with your hand. If there are too many failed attempts, wait 30 seconds before trying again.
If you use a static keypad code, change it after every stay where possible. If that is not realistic, change it on a strict weekly schedule, after any difficult guest, after any contractor visit and whenever a guest says someone outside the booking has seen it. For a deeper operating note, use this guide to change Airbnb door codes between guests.
When to send instructions and when to reveal the code
Guests need enough information to plan travel. They do not need the live code days before they can use it.
| Timing | Send this | Do not send yet |
|---|---|---|
| Booking confirmed | Welcome, check in time, required payment, ID and rules steps | Live code |
| 7 days before arrival | Parking outline, travel notes, reminder to complete checks | Backup key location |
| 48 hours before arrival | Arrival guide or secure check in link | Live code if checks are incomplete |
| Morning of arrival | Reminder, parking, early arrival rule | Code before your chosen release time |
| Check in time | Live code if all conditions are complete | Any old or shared code |
| Checkout time | Key return and departure note | Continued access |
| After checkout | Expire or rotate code, check key is back | Nothing sensitive remains live |
Airbnb says guests see detailed check in instructions 48 hours before check in in the host setup guide, while a 2026 Airbnb hosting resource says guests automatically receive instructions 24 to 48 hours before check in, according to Airbnb help for hosts and Airbnb guidance on providing self check in. (airbnb.com)
How to add self check in instructions in Airbnb
On desktop, Airbnb gives these steps: go to Listings, select the listing, open Listing editor, click Arrival guide, choose Check in method, add instructions and save. That process is set out in the Airbnb guide to adding check in instructions. (airbnb.com)
Choose the method that matches the real entry process. If the guest first uses a building fob from a lockbox and then enters a keypad code at the flat door, do not call the whole thing just a keypad. Write the steps as the guest will experience them.
Use Airbnb for the stable parts: address, arrival photos, check in method and simple notes. If you use a secure link for the final access step, Airbnb can hold the general guide while the live code is controlled separately after verification.
For hosts and managers running several serviced apartments, the apartments page explains the wider front desk setup.
Backup plan for late arrivals, failed codes and lockouts
Every self check in property needs a lockout decision tree. Write it before the midnight call.
First, confirm location. Ask the guest to send a photo of the door and keypad. Many failures are wrong entrance, wrong floor or the neighbour’s door.
Second, confirm timing. If they arrived early, say: “Your code starts at {time}. The property is still being prepared. We will message you if it is ready earlier.”
Third, confirm entry method. For a keypad, ask them to wake the screen, enter the code slowly, press the confirmation button and pull the door gently toward them. For a lockbox, ask them to reset the dials and try again under good light.
Fourth, consider power and battery. Schlage’s host tip sheet says the Schlage Encode Smart WiFi Deadbolt uses four AA alkaline batteries and shows a low battery signal, in its Schlage vacation rental tip sheet. (schlage.com) Yale says some Assure locks give audible and visual low battery warnings, and some models can be powered from the outside with a 9 volt battery if batteries are drained, in the Yale Assure lock FAQ. (support.shopyalehome.com) August support gives battery replacement steps for August wifi smart locks in its August battery replacement article. (yale smart residential.kustomer.support)
Operational rule: after every clean, test the next guest code, test the backup key or backup code, and check the lock closes cleanly without pulling hard on the door. If you want guest facing wording, keep a door code not working troubleshooting guide beside your message templates.
Self check in examples you can copy for three real properties
Example 1, city apartment. Before verification, the guest sees the address area, parking garage name, check in time, lift location and a note that the unit code is released after checks. After payment and ID are complete, they see: enter the garage from {street}, park in bay {bay}, use code {building code} at the building door, take the lift to floor {floor}, enter {unit code} at flat {unit number}.
Example 2, suburban house with lockbox. Before verification, the guest sees the street address, check in time, driveway instructions and house rules reminder. After checks, they see: black lockbox on the left porch rail, code {lockbox code}, key opens the blue front door, return key to the same box at checkout.
Example 3, smart lock unit with backup lockbox. Before verification, the guest sees travel instructions, parking and a note that the door code is not live yet. After checks and at the chosen release time, they see: code {door code} works from {start time} to {end time}. If the keypad fails, contact {number} and the backup lockbox process will be shared.
Next steps
Start by fixing the order of your message, then fix the timing of your code release. Use one template per lock type, one code rule per unit, and one backup plan that a tired guest can follow at midnight.
If you want to see the gated arrival flow in practice, try the instant YourFrontDesk self check in demo at https://airbnb.yourfrontdesk.app/demo.
What people ask next
What does self check in mean on Airbnb?
Self check in means the guest can enter without meeting the host in person. They usually use a smart lock, keypad, lockbox, building staff or another host approved method.
How do you do self check in on Airbnb?
Choose a check in method, add it to the listing Arrival guide, write clear instructions and add photos. Then make sure each booking has the right access code and a backup plan before arrival.
How do I add self check in instructions to my Airbnb listing?
On desktop, go to Listings, choose the listing, open the Listing editor, then Arrival guide and Check in method. Add the instructions for the actual entry process and save them.
When does Airbnb send check in instructions to guests?
Airbnb help says guests can see detailed check in instructions 48 hours before check in. Hosts should still control sensitive live codes carefully, especially where payment, ID or house rules steps are incomplete.
What should Airbnb self check in instructions include?
Include the exact address, unit number, floor, parking, building entry, door or lockbox steps, check in time, wifi and emergency contact. Add photos of the exterior, correct door and lock.
What is self check in with a lockbox on Airbnb?
A lockbox is a small coded safe that holds a physical key. The guest enters the lockbox code, removes the key, opens the property and returns the key at checkout.
What is self check in with a smart lock on Airbnb?
A smart lock lets the guest open the door with a code or app, often with remote management for the host. Where supported, connected locks can create unique codes for each stay.
Should I give every Airbnb guest a unique door code?
Yes, where your lock setup allows it. Unique timed codes reduce the risk of past guests, cancelled guests or unauthorised people entering later.